Installing the Read&Write app


Visit text.help/get-home-use in your browser and click on ‘Try Read&Write today’

Texthelp Read&Write web page with pink try Read&Write today button

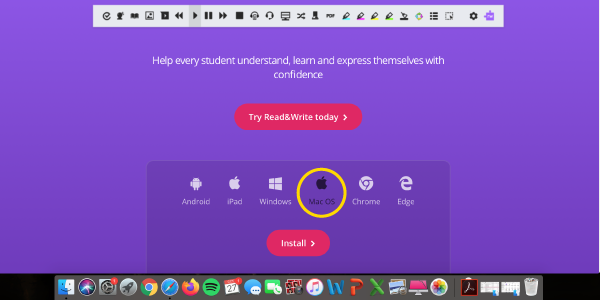
Select the Mac OS icon, then click on ‘Install’. The download will begin.

Read&Write web page with pink install button below highlighted Apple Mac OS icon


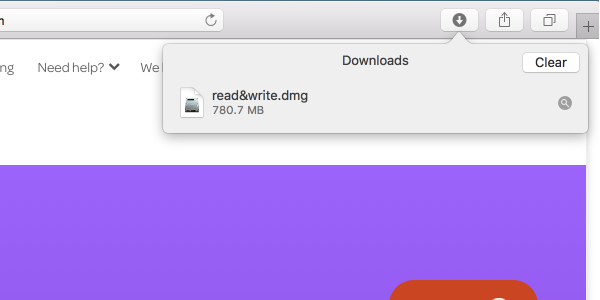
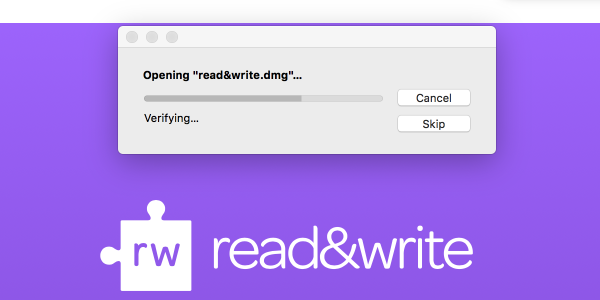
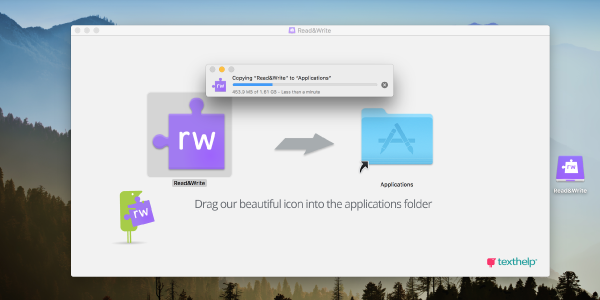
Locate the downloaded file and double click to begin the installation. 


Grey down arrow icon in top right corner of browser clicked to display downloads window with Read&Write file

Grey installation window showing progress of Read&Write install


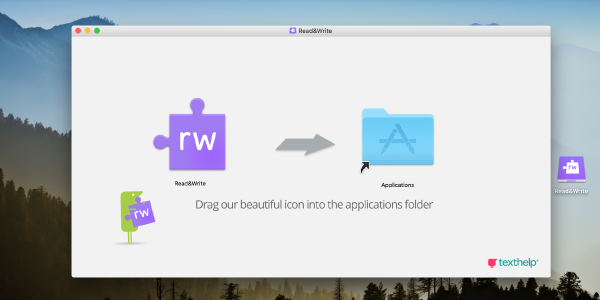
A new window will pop up. Simply drag the Read&Write icon into the Applications folder.


New window with purple Read&Write jigsaw puzzle piece icon with an arrow pointing to the right towards a blue Applications folder with text below instructing “Drag our beautiful icon into the application folder”

Window showing progress of Read&Write being copied to the Mac applications folder


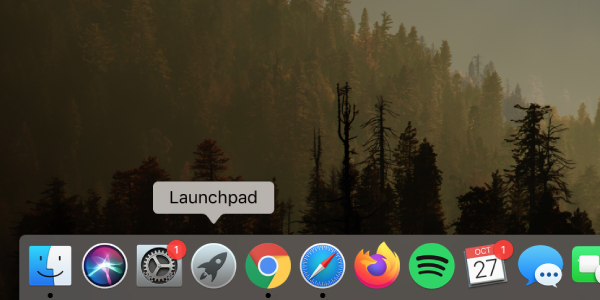
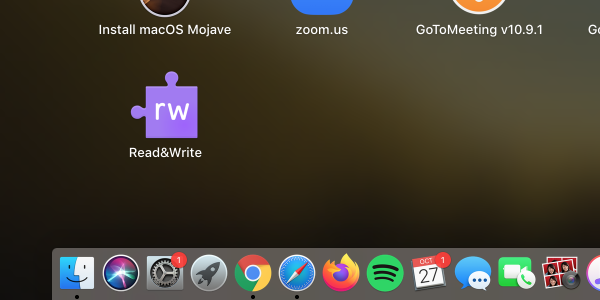
Click on the Launchpad icon in your Dock. Locate the Read&Write icon and click to open. 

Grey circle with rocketship “Launchpad” icon in Mac dock at bottom of screen highlighted

Purple Read&Write puzzle piece icon displayed in launchpad

Follow the instructions on screen to finish the installation. A Sign In window should appear.
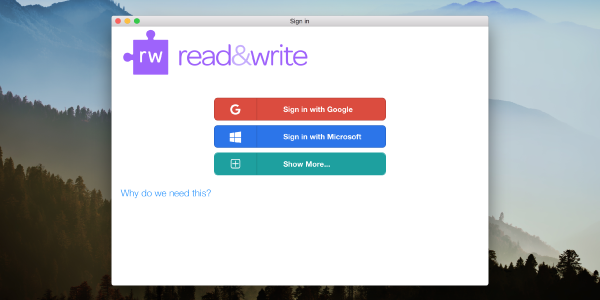


Getting signed in 

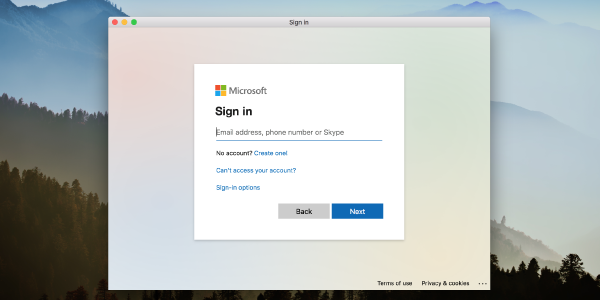
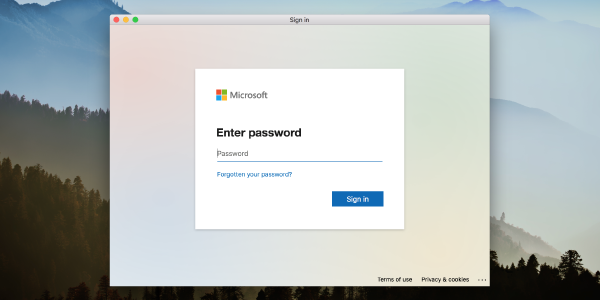
Choose to sign in with Microsoft using the child’s school email address and password. 
Your school can provide this information.

  Read&Write sign in with Microsoft window with email address textbox and blue next button

Read&Write sign in with Microsoft window with enter password textbox and blue sign in button


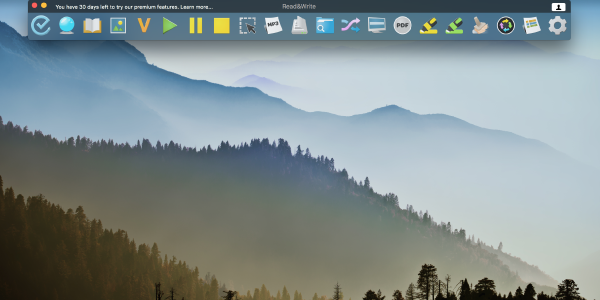
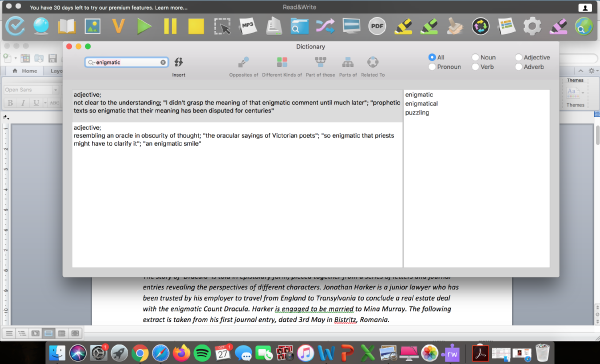
Once signed in, the toolbar should appear on screen, ready to be used.


customer care team photos

Here to help

Our team are on hand to help you every step of the way with getting to grips with Read&Write. We can schedule online webinars, phone calls or even an onsite visit to help you every step of the way, simply get in touch.